How to Use a Coil Binding Machine
Looking for how to use your coil binding machine? You have come to the right place.
If you have any questions after reading this guide, ask one of our Coil Binding Experts using the Quick Question form, or call us at 1-866-455-9900.
What you'll need:
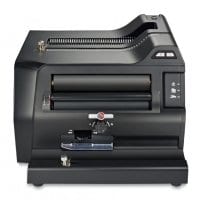
Coil Binding Machine (inserter optional)
Electric Inserter (optional)
Electric Crimper (optional)
Getting Started & Machine Setup:
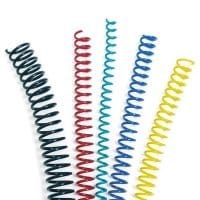
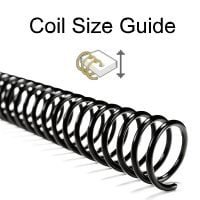
To start, you'll want to choose your coil bind size. We have our full Coil Bind Size Guide here for easy reference.
Now that you know what coil size to use, let's check your machine settings before we move on.
Adjust Edge Guide:
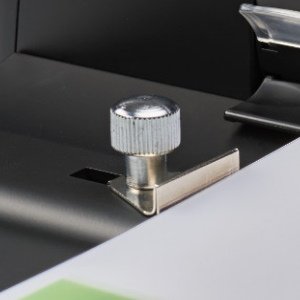
The edge guide of a machine lets you center the pages so the holes are aligned evenly. On most machines, this will be on the left side and usually features a knob you can turn to adjust.
Align the setting to the paper size you're using. Now punch a scrap piece of paper that is the same size of your book pages. Fold the paper in half and see if the holes line up with each other. If they do, you're all set. If not, adjust the side guide until they do.
This ensures the best look and makes it easy if you need to add pages into your books later.
Check Disengageable Die Pins:
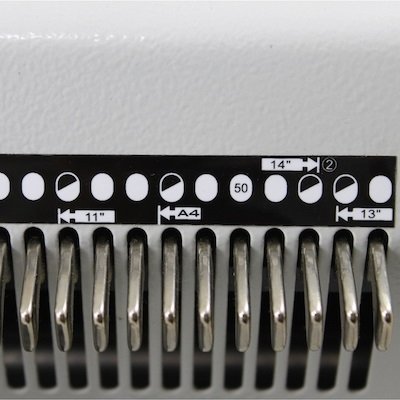
Not all coil binding machines have these pins. They function like an On/Off switch that chooses whether that hole is punched.
If coil machine has these, make sure that they're all pushed in except for the one on the right edge of the paper.
This makes sure there isn't a partial hole punched on the end of your sheets.
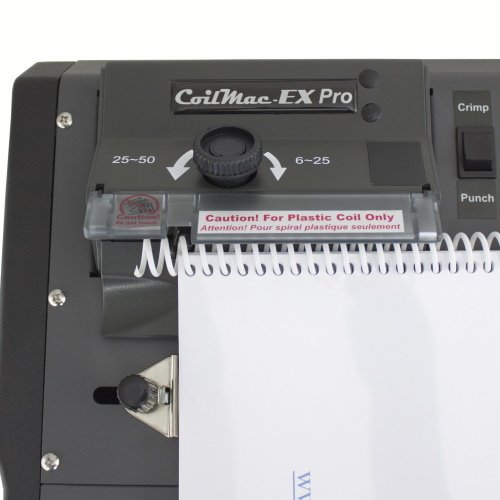
Check Punch Depth Margin:

Not all machines will have these either, but on ones that do we'll want to adjust them based on the coil size you're using.
Check if your machine has a reference in its manual or the sizes listed directly on the machine. If it doesn't, you can adjust it closer to the edge of the pages for smaller books (easier page turning), or further into the page for larger books (for more strength).
Punching:
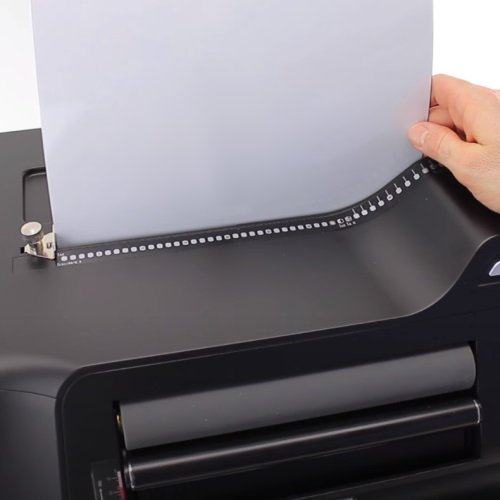
Assemble your inside pages in order in a stack.
Punch your pages in sets that are less than your machine's max limit. This prevents jams & excess wear on the punch pins.
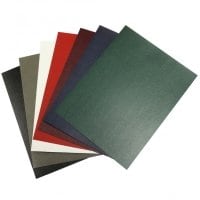
For punching covers, we recommended doing 1 at a time for thick covers, or 2-3 if they're thinner. This reduces wear on your punch pins, as well as prevent jams from happening.
Now that everything is punched, put the front & back covers in their proper places. Now on to binding!
Binding:
Binding a coil bound book is done is two steps. The first is inserting the coil, while the second is cutting/crimping the ends to keep your book securely bound.
Inserting Coil:
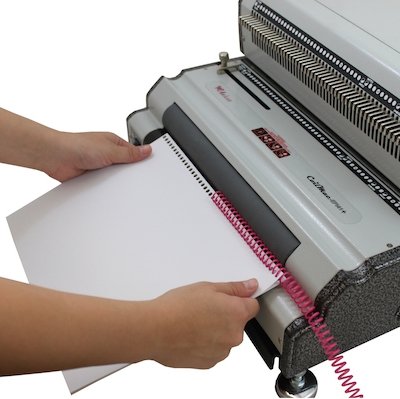
If you have an electric coil inserter, it will make inserting sheets a breeze. To use it, thread the coil into the first 4-6 holes by hand, then push the coil against the spinning inserter wheel.
If you're inserting by hand, spin the coil in from either end of the sheets.
With either method you'll want to end up with a few loops of coil hanging out of both sides of your book.
Crimping Coil:
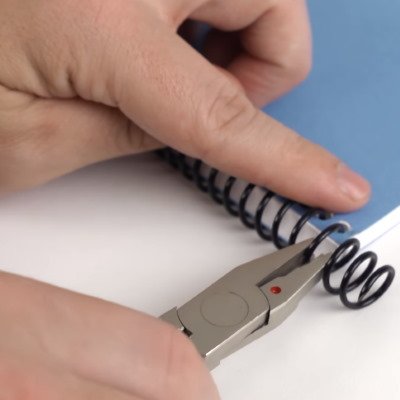
Use coil crimpers to crimp the ends of your coil to keep it from spinning out of the pages.
If you have an auto/electric crimper, follow the instructions that came with your machine or contact us to get a copy of the manual.
If you're using coil crimping pliers, follow the instructions below:
Right-Handed:
- Hold the pliers so the dot on the side of the pliers is facing up.
- With your book laying flat, place the pliers on the right end of the coil just below the center of the coil as it comes out of the last hole.
- Squeeze the pliers and keep them closed. Give it a second squeeze or extra pressure to make sure it properly crimps.
- Twist the pliers slightly clockwise to give the end a nice bend angle.
- Release the pliers and flip the book over end for end and crimp the other side the same way.
Left-Handed:
- Hold the pliers so the dot on the side of the pliers is facing down.
- With your book lying flat, place the pliers on the left end of the coil just below the center of the coil as it comes out of the last hole.
- Squeeze the pliers and keep them closed. Give it a second squeeze or extra pressure to make sure it properly crimps.
- Twist the pliers slightly counterclockwise to give the end a nice bend angle.
- Release the pliers and flip the book over end for end and crimp the other side the same way.
Emptying Paper Tray:

Keeping the paper waste tray empty makes sure you don't get the tray jammed from over-filling. Most coil binders have it located near the bottom on the front, one of the sides, or the back.
There should be an icon on your machine to show where it is, or a handle/cutout you can pull to remove the tray.
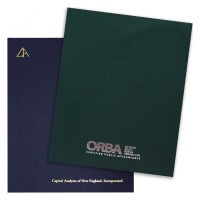
You now have a finished coil bound book!
Have a question?
Let one of our Coil Binding Experts answer it by calling us at 1-866-455-9900 or by using the Quick Question form.