How to Use a Comb Binding Machine
Looking for how to use your comb binding machine? Follow this guide and we'll have you comb binding in no time.
If you have any questions after reading this guide, ask one of our Comb Binding Experts using the Quick Question form, or call us at 1-866-455-9900.
What you'll need:
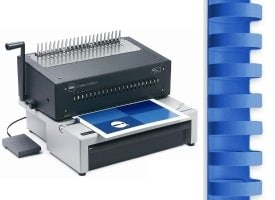
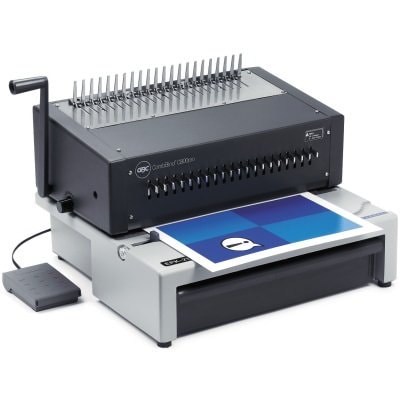
Comb Binding Machine (most include openers)
Standalone Comb Opener (optional)
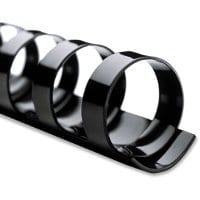
Comb Binds (aka CombBind)
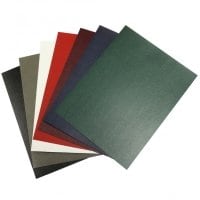
Covers (optional)
Paper (pre-punched optional)
Getting Started & Machine Setup:
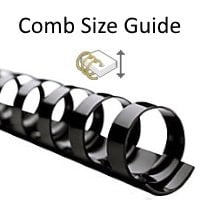
To start, you'll want to choose your comb bind size. We have our full Comb Bind Size Guide here for easy reference.
Now that you know what comb size to use, let's check your machine settings before we move on.
Adjust Edge Guide:
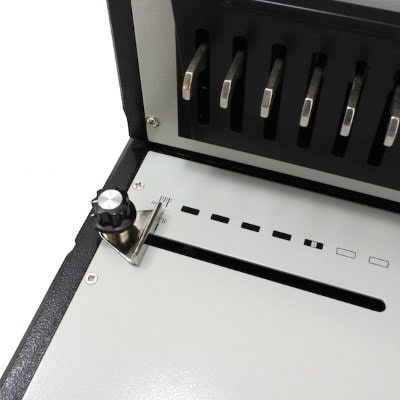
The edge guide of a machine lets you center the pages so the holes are aligned evenly. On most machines, this will be on the left side and usually features a knob you can turn to adjust.
Align the setting to the paper size you're using. Now punch a scrap piece of paper that is the same size of your book pages. Fold the paper in half and see if the punched holes line up with each other. If they do, you're all set. If not, adjust the side guide until they do.
This ensures the best look, makes it so the pages are always in line with each other, and makes it easy if you need to add pages into your books later.
Check Disengageable Die Pins:
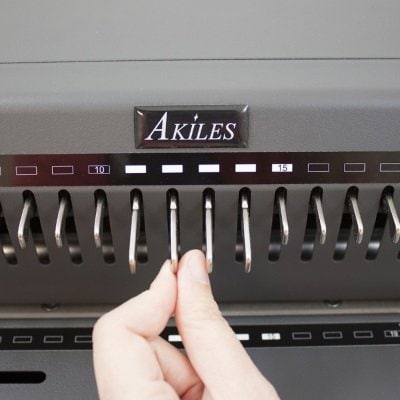
Most comb binding machines have these pins. They function like an On/Off switch that chooses whether that hole is punched.
If your comb machine has these, make sure that they're all toggled on (can punch a scrap piece of paper to check 'On' position if you're not sure).
If you're punching paper that is smaller than the max width of your machine, you can toggle the pin above the right edge of the paper to make sure there isn't a partial hole punched on the edge of your sheets.
Check Punch Depth Margin:
Not all machines will have this adjustment, but on ones that do we'll want to adjust them based on the comb size you're using.
Check if your machine has a reference in its manual or the sizes listed directly on the machine. If it doesn't, you can adjust it closer to the edge of the pages for smaller books (easier page turning), or further into the page for larger books (for more strength).
To check which position is which, punch a scrap piece of paper and see how far from the edge it punched. Then toggle it to the opposite end and punch the other side of the paper and compare. (or call us at 1-866-455-9900 and we can send you the guide for your machine).
Punching:
Assemble your inside pages in order in a stack.
Punch your pages in sets that are less than your machine's max limit (see your manual or contact us if you need a copy). This prevents jams & excess wear on the punch pins.
For punching covers, we recommended doing 1 at a time for thick covers, or 2-3 if they're thinner. This reduces wear on your punch pins, as well as prevent jams from happening.
With everything punched, put the front & back covers in their proper places. Let's move on to binding!
Binding:
Binding a comb bound book is a simple process. Follow these steps, and then look further below to see instructions for editing (changing) the inside pages of a bound book.
Place Comb Bind on Comb Opening Hooks:
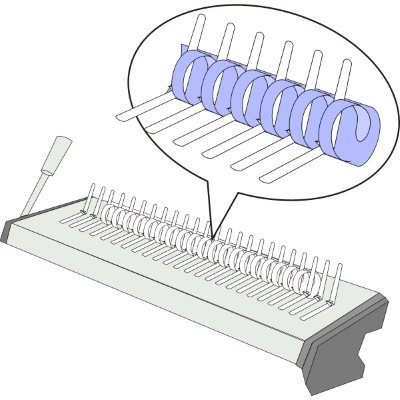
First, let's make sure the Comb Opening Hooks are moved closest to the Comb Opening Fingers (use the Comb Binding Handle to adjust if needed).
You'll want to start by placing your comb onto the opener. One side of the loops are attached to the comb spine. Put that side on the bottom as you slide the bind into the opener.
Open Comb Bind:
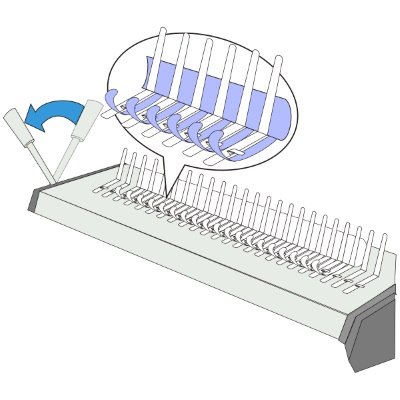
With the comb bind in position, move the Comb Binding Handle and the hooks should start opening the comb bind.
You'll want to stop opening the comb a little bit before the hooks reach the end of the loops (if you go too far and they spring closed, just move the handle back and try again).
If it's stuck/not moving, check that the comb is laid down on the correct side (try flipping the comb over if you're not sure).
Add Covers & Pages:
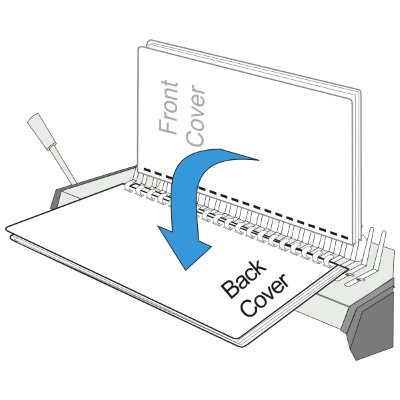
Now let's take your assembled book (front cover, pages, then back cover) and place it onto the opened comb. You'll lay the book down (front cover down first) onto the spines.
Take a quick look and make sure all the comb loops went through all the holes in your pages.
Close Comb & Finish:
Use the Comb Binding Handle to close the comb bind and then you can lift your book up and off the machine.
If it's not pulling up freely, make sure the handle has been moved all the way so the bind is back to its relaxed (closed) position.
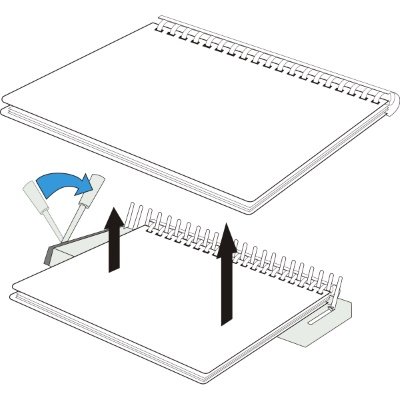
Editing (Add or Remove Pages):

To edit your book, follow the steps listed above and once the comb is open you can then add, remove, or replace the pages once the comb bind is open.
You now have a finished comb bound book!
Comb binding is a great solution for all your presentations, instructions, books, manuals and more.
Have a question?
Let one of our Comb Binding Experts answer it by calling us at 1-866-455-9900 or by using the Quick Question form.
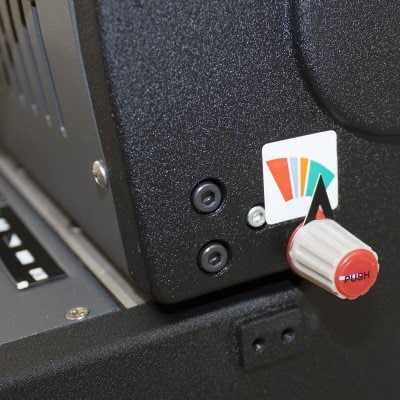
Emptying Paper Tray:

Keeping the paper waste tray empty makes sure you don't get the tray jammed from over-filling. Most comb binders have it located near the bottom on the front, one of the sides, or the back.
There should be an icon on your machine to show where it is, or a handle/cutout you can pull to remove the tray.